Want to test your startup idea without overspending? Here’s a quick guide to 7 low-cost prototyping methods that save time and money while validating your product:
- Paper Sketches: Quick, flexible, and perfect for brainstorming ideas.
- Digital Mockup Tools: Create interactive, clickable prototypes with drag-and-drop platforms.
- 3D Printed Models: Test physical product designs affordably using local makerspaces or online services.
- Manual Process Testing: Simulate your product or service manually to gather user feedback.
- Simple Test Websites: Build no-code websites to gauge interest and collect insights.
- Human-Powered Services: Offer your service manually to a small group before automating.
- Demo Videos: Showcase your idea with clear, concise videos highlighting key features.
These methods help startups validate ideas fast, reduce risks, and focus resources where they matter most. Start small, test often, and refine as you go.
E4C Webinars l Prototyping on a Budget

1. Paper Sketches and Mockups
Paper sketches and mockups are a simple, low-cost way for startups to prototype ideas. With just a pen and paper, you can quickly bring concepts to life and refine them on the spot. This method works well for brainstorming sessions where speed and flexibility are key.
One of the biggest perks of paper prototyping is how fast you can create and adjust designs. You can sketch out multiple interface or flow options in minutes. Stakeholders can jump in to tweak sketches, erase parts, or start fresh – all while collecting real-time feedback.
Another benefit is that paper prototypes focus on core functionality rather than polished visuals. This helps teams tackle usability issues early, saving time and resources later.
Here’s how to get the most out of paper prototyping:
- Map out user flows: Sketch the entire process a user would follow, from start to finish.
- Experiment with variations: Draw different versions of key features or layouts.
- Test with users: Share your sketches with real users to gather quick feedback.
- Track your progress: Take photos or jot down notes to document changes and improvements.
Combining paper sketches with user testing can reveal valuable insights into user needs and challenges, helping you refine your ideas before moving to more advanced stages.
2. Digital Mockup Tools
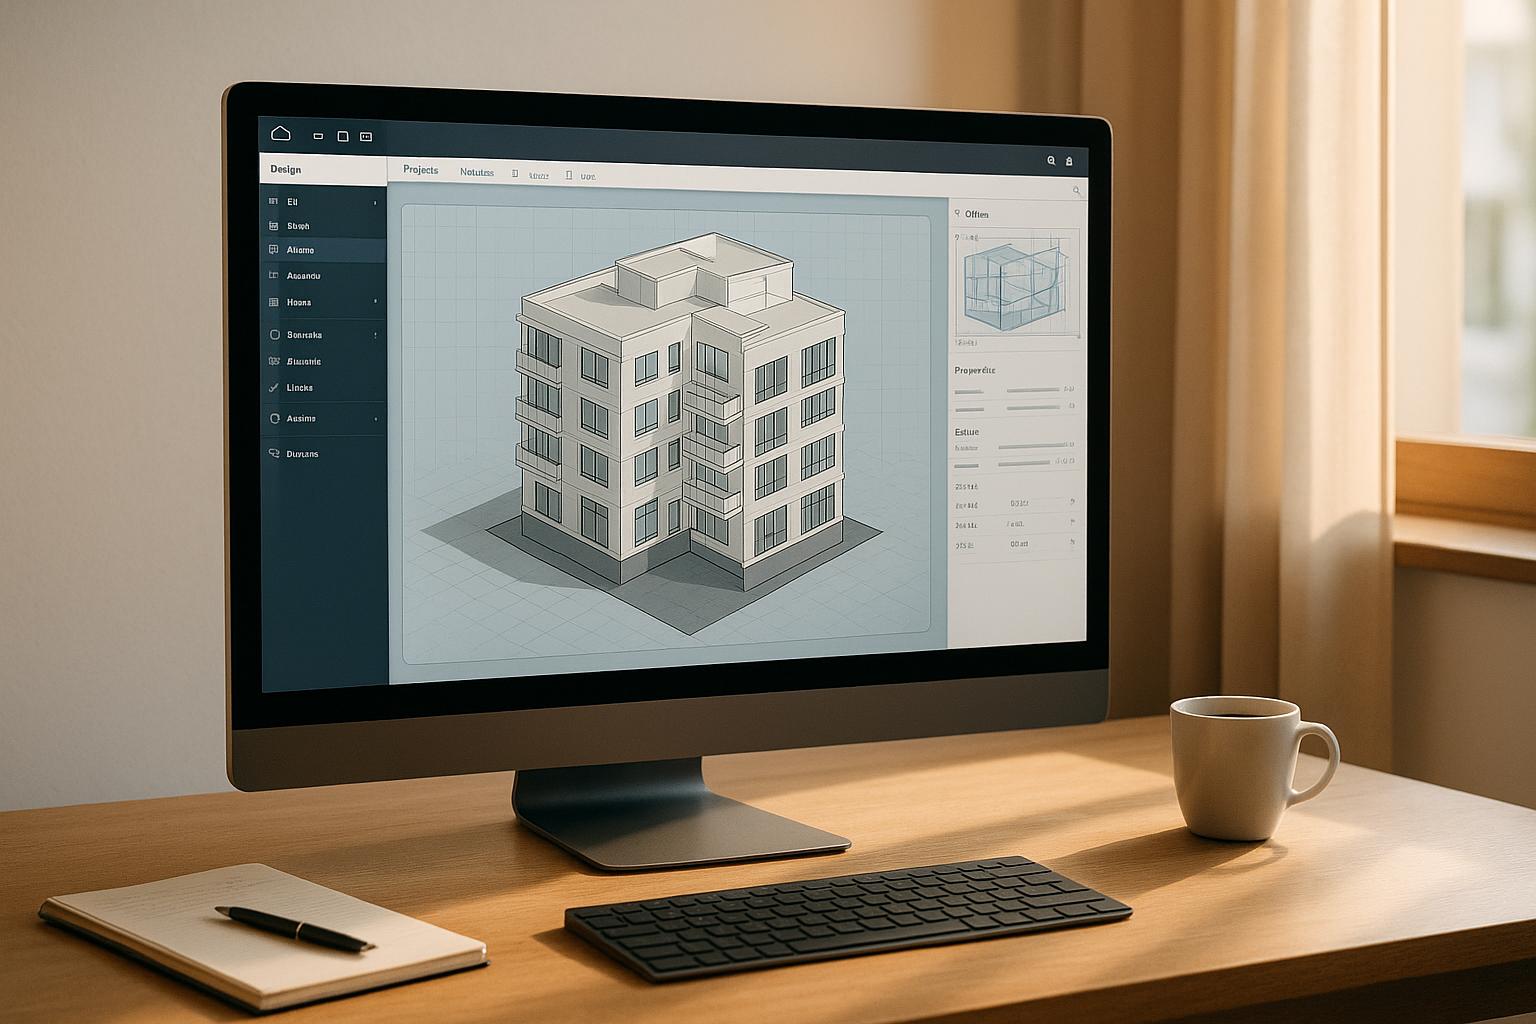
Digital mockup tools take your paper sketches to the next level, allowing startups to create interactive prototypes quickly and affordably. These platforms feature drag-and-drop interfaces and ready-made components, making them easy to use – even for non-technical founders. With these tools, you can design clickable interfaces that mimic real applications, helping you test ideas with users before diving into development.
What to Look for in Digital Mockup Tools
- Pre-designed UI elements: Ensure components match platform-specific guidelines.
- Interactive prototyping: Build clickable flows and transitions to simulate user interactions.
- Collaboration tools: Look for real-time feedback and version control to streamline teamwork.
- Export options: Make sure you can easily share prototypes with stakeholders or testers.
Example of a 4-Week Prototyping Sprint
| Week | Focus | Deliverable |
|---|---|---|
| 1 | User flows & wireframes | Basic layout structure |
| 2 | Interactive elements | Clickable prototype |
| 3 | Visual design | High-fidelity screens |
| 4 | User testing | Validated prototype |
The goal is to create a functional prototype that showcases your product’s core idea without unnecessary complexity. Focus on what you need to validate your concept, rather than getting sidetracked by advanced features you may not use.
For startups with limited budgets, many digital mockup tools offer free or discounted plans for small teams. This makes them an affordable choice for early-stage validation and iteration, giving you a chance to refine your product idea before committing to full-scale development.
Up next, let’s look at how 3D printed models can take rapid prototyping even further.
3. 3D Printed Models
3D printing has made creating physical prototypes much easier and more affordable, especially for startups needing tangible product samples. It connects digital designs with real-world testing, helping founders test their ideas quickly without overspending.
Cost Considerations for 3D Printed Prototypes
Pricing for 3D printing can vary a lot. Local makerspaces often charge hourly rates for basic parts, while online services or university labs can deliver more polished, complex prototypes. To keep costs in check, focus on streamlining your design process.
Making the Most of 3D Printing for Prototypes
- Choose the Right Material
Use PLA for affordable, early-stage testing. For more durable prototypes, opt for ABS. Costs will depend on the material and the amount used. - Simplify Your Design
Break down complex designs into smaller, printable parts. This approach saves money and makes it easier to tweak your design. - Start Small
Begin with scaled-down, low-detail prints to test the basic shape and functionality. Once you’re satisfied, move to full-scale versions.
Tips to Save on 3D Printing
- Hollow Your Models: Reducing material inside the model can cut costs significantly.
- Adjust Print Resolution: Use lower resolution for initial prints to save both time and money.
- Cut Down on Supports: Design with fewer support structures to reduce material waste.
- Utilize Local Makerspaces: These spaces often have professional-grade equipment without requiring a big upfront investment.
sbb-itb-51b9a02
4. Manual Process Testing
Manual process testing, often called the "Wizard of Oz" prototype, uses human intervention to mimic automated features. It’s a cost-effective way to validate your idea before investing in expensive technology.
Setting Up Manual Tests
Manually test your core service to understand user needs and operational challenges. For example, if you’re working on a food delivery app, you could collect orders through a Google Form and coordinate deliveries using phone calls.
Why Manual Testing Works
- Low Cost to Start
Use simple tools like spreadsheets and email to test your concept without committing to full development. - Quick Adjustments
Make changes fast based on real-time customer feedback. - Lower Risk
Spot problems early and refine your business model before investing in automation.
How to Implement Manual Testing
- Define Key Features
Focus on the core functions that solve your users’ main problem. - Set Up Basic Tools
Create a simple system using tools like:- Intake forms for customers
- Spreadsheets for tracking
- Pre-written communication templates
- Manual workflows for fulfilling requests
- Set Clear Limits
Decide on boundaries for your operations, such as:- Maximum daily orders
- Service hours
- Geographic range
- Expected response times
Tips to Save Time and Money
- Stick to free tools like Google Workspace or Microsoft 365.
- Limit manual testing to 2–4 weeks.
- Keep detailed notes on your manual processes to make future automation easier.
Knowing When to Move On
It’s time to stop manual testing when:
- Manual tasks take more than 4 hours a day.
- Customer demand outpaces your ability to deliver.
- User interest is consistently proven.
- You notice clear trends in user behavior and requests.
Next, we’ll look at how simple test websites can help you refine your prototype even further.
5. Simple Test Websites
Simple test websites are an easy and affordable way to validate your idea online. They help you measure market interest and collect user feedback before diving into full development.
Key Elements
To make your test site effective, include these components:
- Value Proposition: Clearly explain your solution’s main benefit.
- Feature Preview: Highlight planned features with text or mockups.
- Sign-up Form: Let visitors share their contact details.
- Feedback Mechanism: Add a survey or comment section for user input.
How to Create Your Test Website
- Pick a Suitable Platform
Use no-code website builders that simplify setup and include analytics and form tools. - Track Important Metrics
Keep an eye on page visits, time spent on the site, sign-ups, and feedback to see how you’re performing. - Set Clear Goals
Define targets for sign-up rates, feedback quantity, and user acquisition costs.
These steps will help you get your test site up and running efficiently.
Tips to Save Money
- Limit the Testing Period: Run your tests long enough to gather meaningful data without overspending.
- Use Organic Traffic: Promote your site through social media, professional networks, and online communities to save on advertising costs.
Signs It’s Time to Scale
You’ll know it’s time to move beyond testing when you notice:
- Consistent user engagement
- Recurring feedback patterns
- Clear signs of market demand
Technical Considerations
Make sure your test website is mobile-friendly, loads quickly, and has simple navigation. Use clear calls-to-action to guide visitors effectively.
When combined with other tools like sketches and manual testing, these websites offer a fast and cost-efficient way to refine your idea. A basic yet professional test site can validate your concept while keeping your credibility intact. And if you’re ready to take the next step, companies like AlterSquare can help bring your idea to life as a fully developed product.
6. Human-Powered Services
Human-powered services let you test your idea by manually providing your service to a small group of early users. Start by mapping out how the service will be delivered, then personally oversee a short trial period. Use the direct feedback you gather to tweak and improve your offering – all without spending a lot upfront.
Once you’ve confirmed your idea works, you can look into automating or building software to expand your operations. After that, consider using demo videos to clearly showcase your polished concept.
7. Demo Videos
Demo videos are a powerful way to present your product idea to your audience and gather feedback. These videos let you clearly explain your product’s main features and benefits, using tools like screen recordings, animations, or slideshow presentations.
For software products, create walkthroughs of interactive mockups using screen recording tools. This helps showcase key features and gives viewers a sense of the user experience. Keep these videos short and focused, highlighting the most important aspects.
For physical products, consider using 3D modeling tools or video recordings with a voice-over. This approach helps explain the product’s features and how it benefits users in a clear and engaging way.
Key Elements to Include:
- A clear statement about the problem your product solves
- An explanation of your solution
- A demonstration of the main features
- A call-to-action, like requesting feedback or offering early access
Distribute your demo video through targeted platforms like professional networks or industry forums to gather feedback. Experiment with different messaging styles or focus on specific features to refine your concept further.
To make feedback easier to collect, include a link to an online survey form in the video description. Free survey tools can help you organize and analyze responses effectively.
Conclusion
Choosing the right prototyping method is crucial for startups looking to test ideas and manage resources efficiently. Different methods work best depending on the type of product, its development stage, and the available budget.
Whether you’re working on physical or digital products, there are plenty of ways to test ideas without breaking the bank. From simple paper sketches to demo videos, these methods emphasize an iterative, cost-conscious approach. They show how startups can refine ideas quickly while keeping expenses under control.
According to industry insights, rapid prototyping sprints can produce high-fidelity prototypes in as little as four weeks [1]. Start with low-fidelity options to validate key assumptions, then gradually move to more detailed prototypes as your product vision becomes clearer.
If you’re looking for expert help with MVP development or prototyping, AlterSquare is here to guide you every step of the way.


Leave a Reply